The eye fillet is a long muscle that runs along the underside of the spine. It's what I call a stabiliser muscle. This means that it doesn't do a lot of movement. This lack of movement results in it being the most tender muscle of the whole animal.
Because of this cuts high value, I have compiled 5 Cooking Tips to help you achieve Eye Fillet Perfection next time you want to treat yourself.
Keys to cooking your eye fillet….
Key 1
Room temperature steak.
If you cook a cold steak, by the time the centre gets to the right temperature the outside will be overcooked. So a couple of hours before cooking, bring your steak out of the fridge and let it get to room temperature.
Key 2
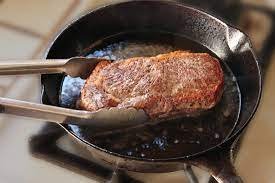
A really hot pan
Add your fat (lard, oil etc) to a pan and bring the heat right up.
Season your steak with salt flakes JUST before cooking (add pepper at the end, the pan will be too hot and will scorch the pepper if you add it now)
When the pan is really hot. Carefully lay the steak into the pan.
The result we are after is a nice brown crust on the outside yet soft and juicy on the inside.
Key 3
Flip every 15 to 20 seconds.
This allows a crust to form without over cooking the inside.
Cook to your liking. A digital thermometer can be inserted into the middle of the steak.
Rare: 45 degrees c
Medium: 55 degrees c
Well done: 65 degrees c
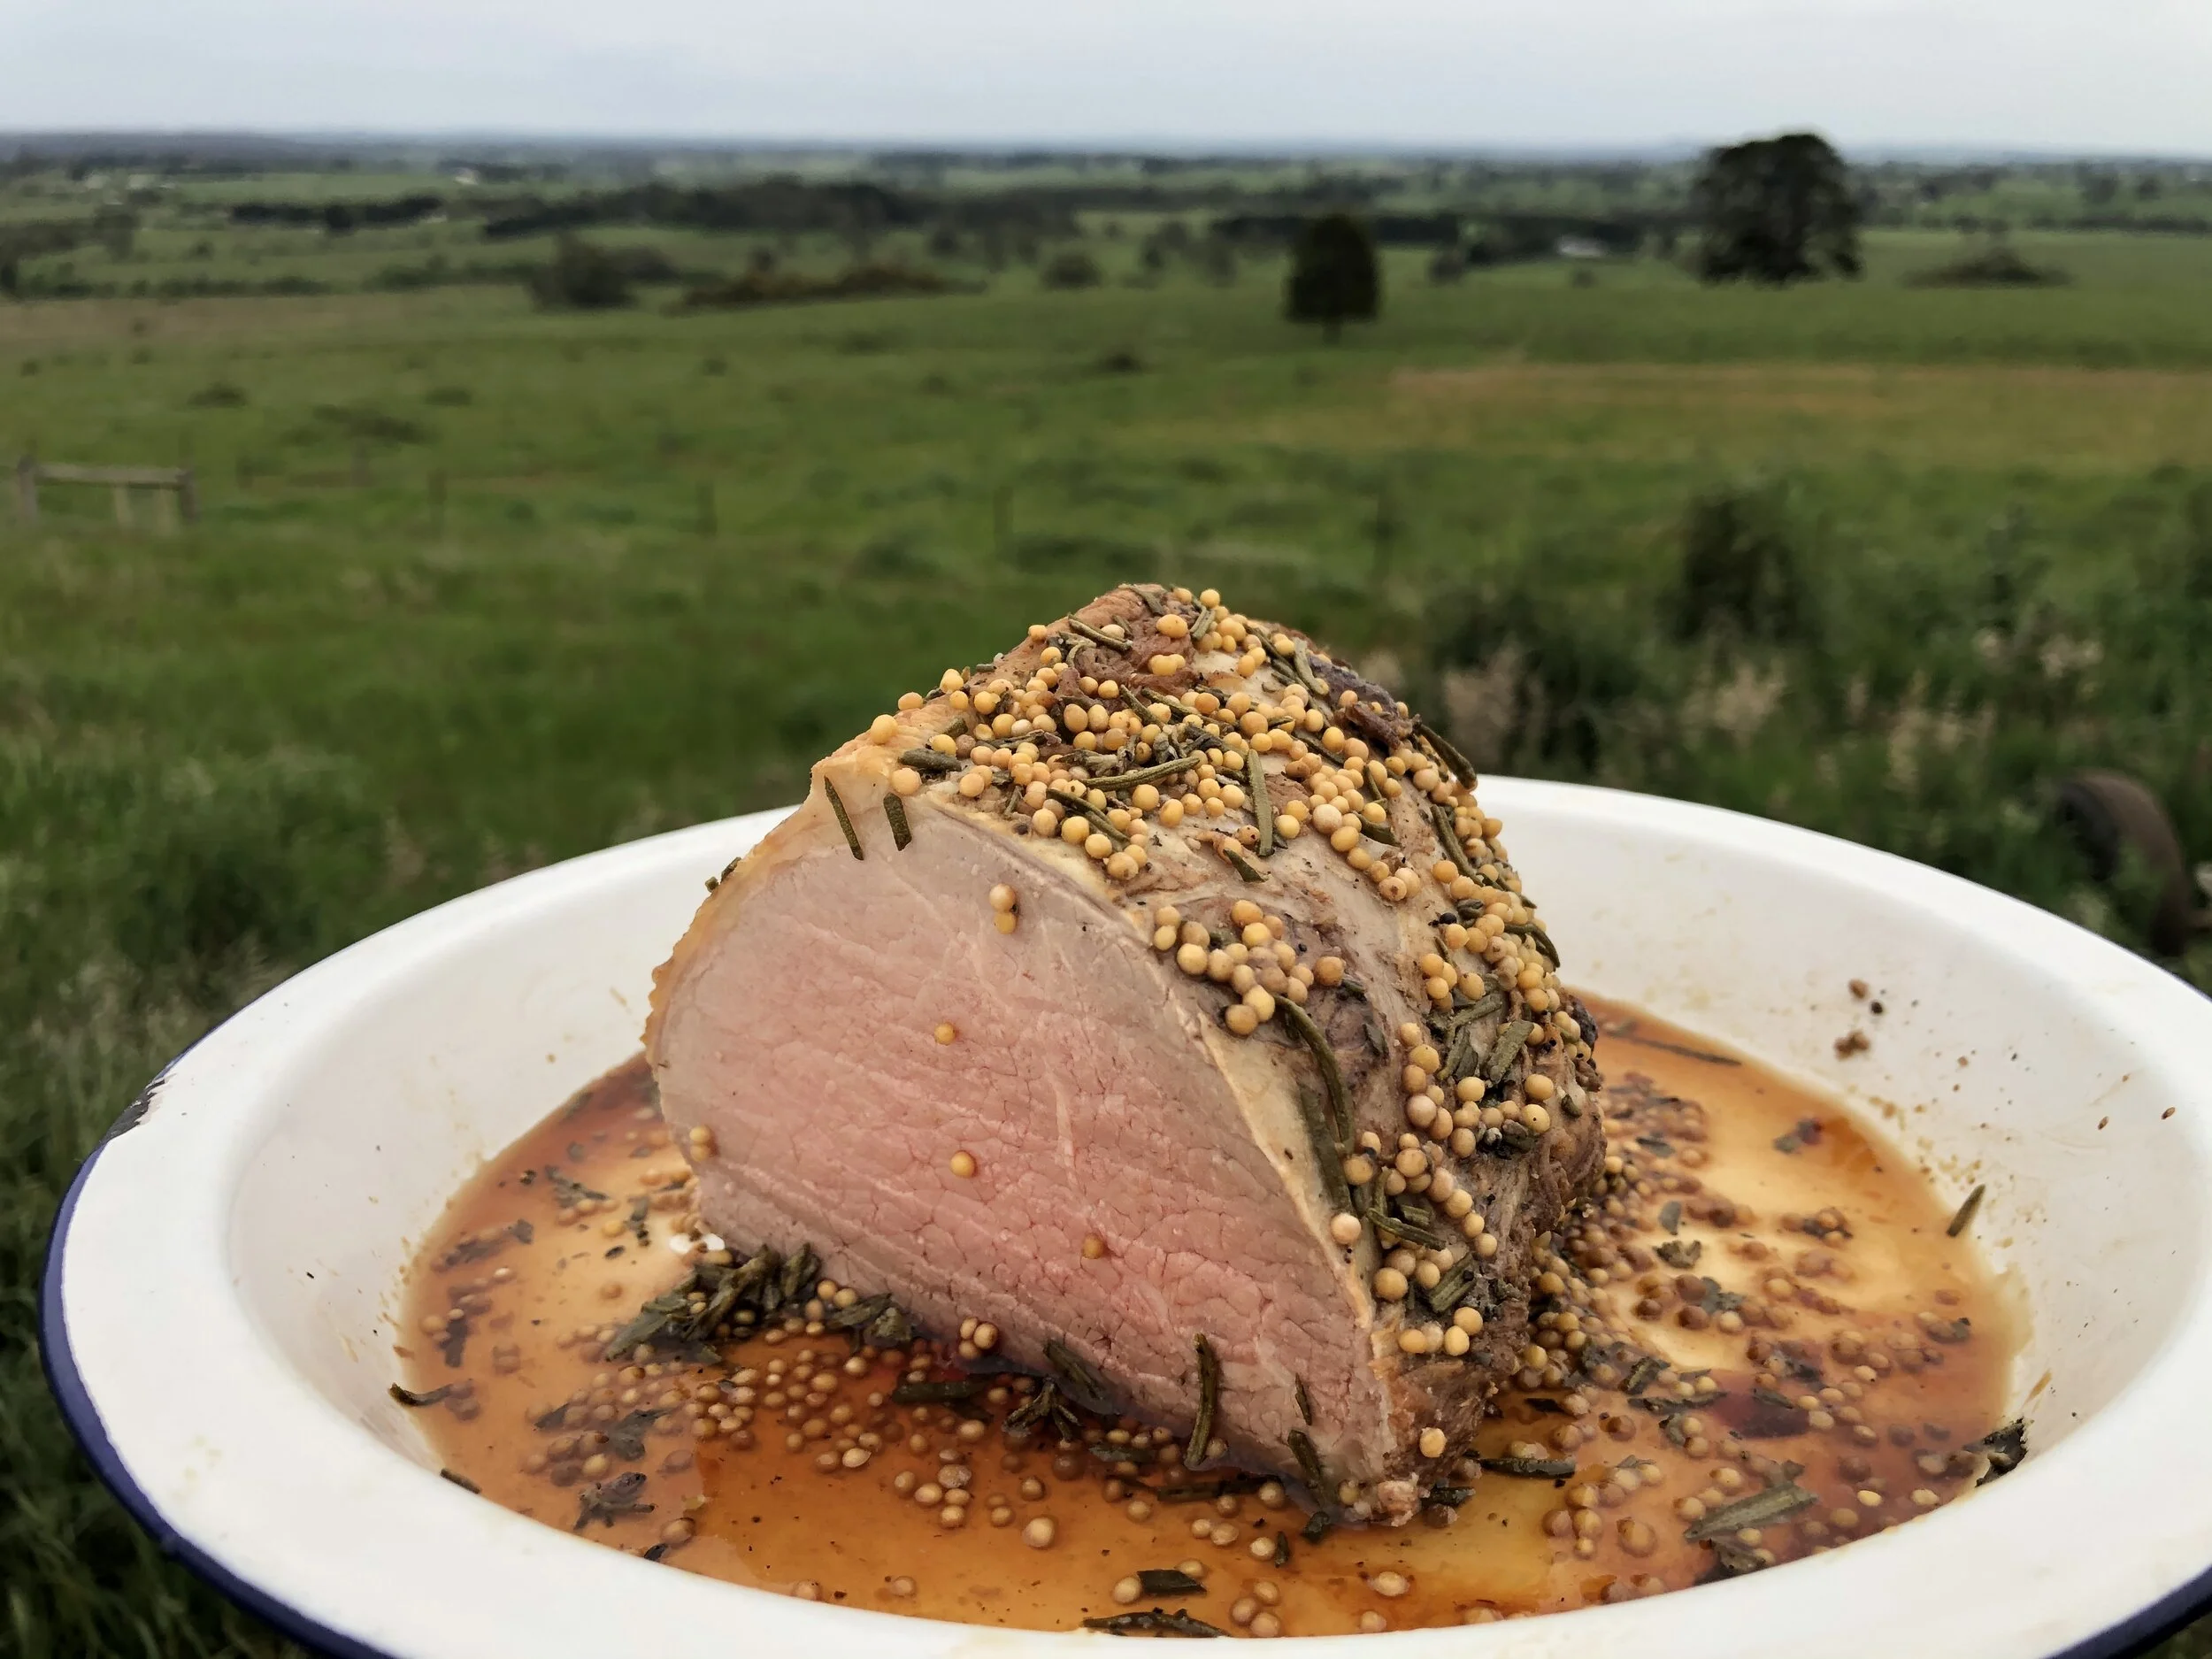
At Re-gen Farms we cut our eye fillets 3+ cm thick so they don't dry out in your pan.
Key 4
Let it rest for at least half as long as you cooked it. 5 mins is great.
A steak straight from the pan has fibres that are still contracting and forcing out the juices. If you cut into it too soon, you will lose all that juiciness.
When the fibres are allowed to cool down and relax, the moisture re-enters the cells and keeps the juices in the steak.
Place it on a wire rack over a tray or plate to rest.
The heat can then escape and cooking will stop. The residual heat will still raise the temp by at least 5 degrees so don't worry, it won't get cold.
Key 5
Savour your tender, juicy eye fillet.
Happy home cooking,
Farmer Steph